How to Install SuiteCRM
SuiteCRM is an open source customer relationship management solution built on PHP. It can be hosted or cloud-hosted. SuiteCRM can also be heavily customized to meet business needs. In the next sections, we will introduce the various features of SuiteCRM.
1. Install the LAMP environment
Update the system package to the latest version
yum update
After the package update, LAMP (Linux, Apache, MySQL and PHP) can now be installed using all the required PHP modules
yum install httpd php php-common php-curl php-xml php-json php-mbstring php-zip php-imap pcre pcre-devel zlib-devel mariadb-server
After installing LAMP, start the Apache and MariaDB services and make them start automatically when the system boots
systemctl start httpd mysql
Secure and enhance the database server installation by running the following script
mysql_secure_installation
You will be asked to enter the root password, just press [Enter].
Enter current password for root (enter for none):
Again, you will also be asked to answer the following questions, simply type y to all questions set the root password, delete the anonymous user, turn off the remote root login, delete the test database and reload the permissions table.
Set root password? [Y/n] y
Remove anonymous users? [Y/n] y
Disallow root login remotely? [Y/n] y
Remove test database and access to it? [Y/n] y
Reload privilege tables now? [Y/n] y
Now you need to configure PHP to allow uploading files of at least 6MB.
Open your PHP configuration file (/etc/php.ini or /etc/php5/apache2/php.ini) with the editor of your choice, search for upload_max_filesize and set it
upload_max_filesize = 6M
Save the file and close it, then restart the HTTP server
systemctl restart httpd
2. Create a SuiteCRM database
In this step you can create a database to store the data of suiteCRM. Run the following command to access the MariaDB shell (remember to use your own database name, user and password)
$ mysql -u root -p
MariaDB [(none)]> CREATE DATABASE suitecrm_db; MariaDB [(none)]> CREATE USER 'crmadmin'@'localhost' IDENTIFIED BY '123';
MariaDB [(none)]> GRANT ALL PRIVILEGES ON suitecrm_db.* TO 'crmadmin'@'localhost';
MariaDB [(none)]> FLUSH PRIVILEGES;
MariaDB [(none)]> exit;
3. Installing and setting up SuiteCRM
First install Git, get and clone the latest version of SuiteCRM from the Github repository with appropriate permissions in the SuiteCRM folder in the Apache root directory (/var/www/html/)
yum -y install git
cd /var/www/html
git clone https://github.com/salesagility/SuiteCRM.git
mv SuiteCRM suitecrm
chown -R apache:apache suitecrm [On CentOS/RHEL]
chmod -R 755 suitecrm
ls -ld suitecrm
Now open your web browser and enter the URL below to access the SuiteCRM Web Installer Wizard
http://SERVER_IP/suitecrm/install.php or http://localhost/suitecrm/install.php
Open the page, if prompted to install composer, if composer is not installed install it through the following link
https://docs.phpcomposer.com/01-basic-usage.html
After the installation is complete, install the project package at
composer update --ignore-platform-reqs
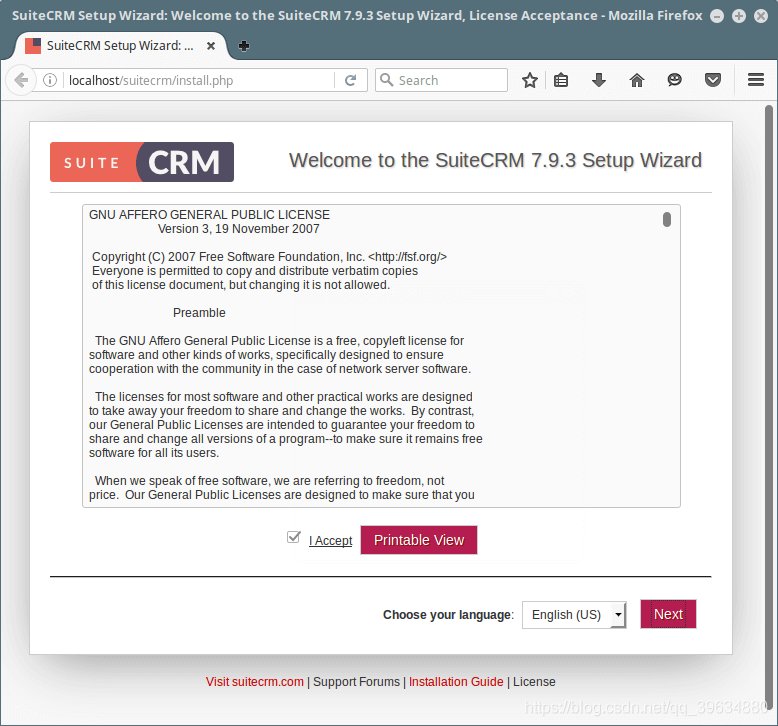
You will see the welcome page, which includes the SuiteCRM license agreement. Read the license and check " I accept" and set the installation language. Click Next to continue.
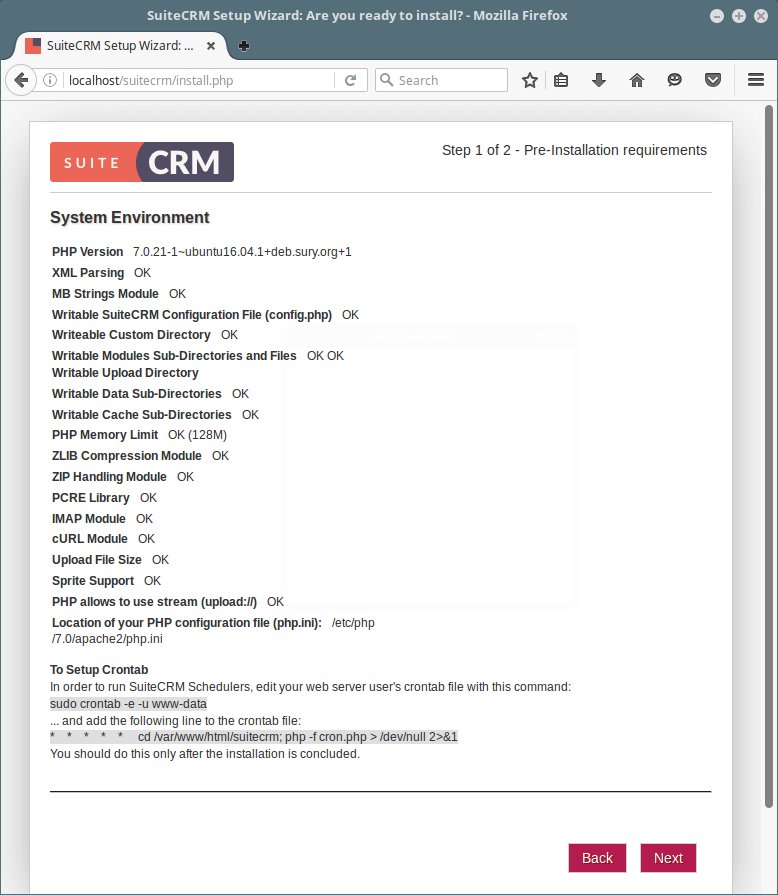
 SuiteCRM Web Installer, you will see the pre-installation requirements page below. If everything is fine, as shown in the screenshot below, click Next to continue.
Next, provide the SuiteCRM database settings (database name, host, username and password)
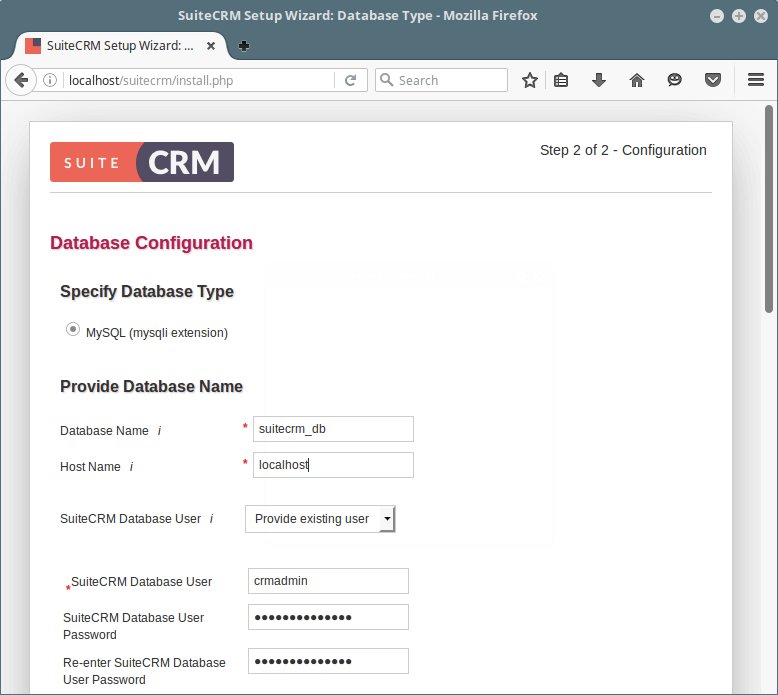
4. SuiteCRM Database Setup
On the same page, enter the site configuration (site name, administrator username, password and email address).
You can also configure additional options.
Demo Data (select Yes if you want to populate the site with demo data).
Scenario selection - e.g. sales, marketing, etc.
SMTP server specification - select your email provider, SMTP server, port, user authentication details.
Branded details - organization name and logo.
System area settings - date format, time format, time zone, currency, currency symbol and ISO 4217 currency code.
Site security settings.
5. Login
After completion, click Next to start the actual installation process where the installer will create the database tables and default settings.
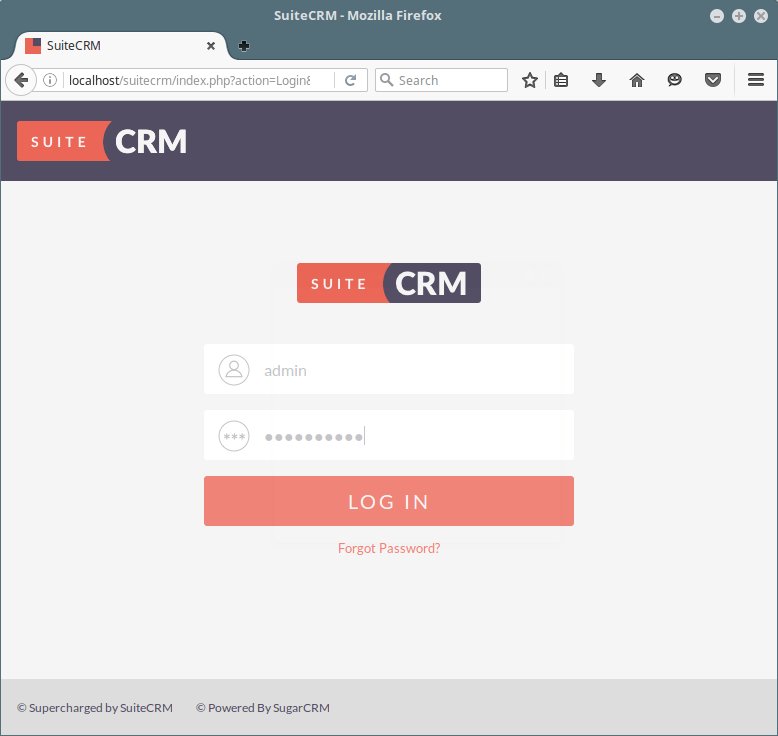
Once the installation is complete, you can log in. Provide administrator username and password, then click " Login "