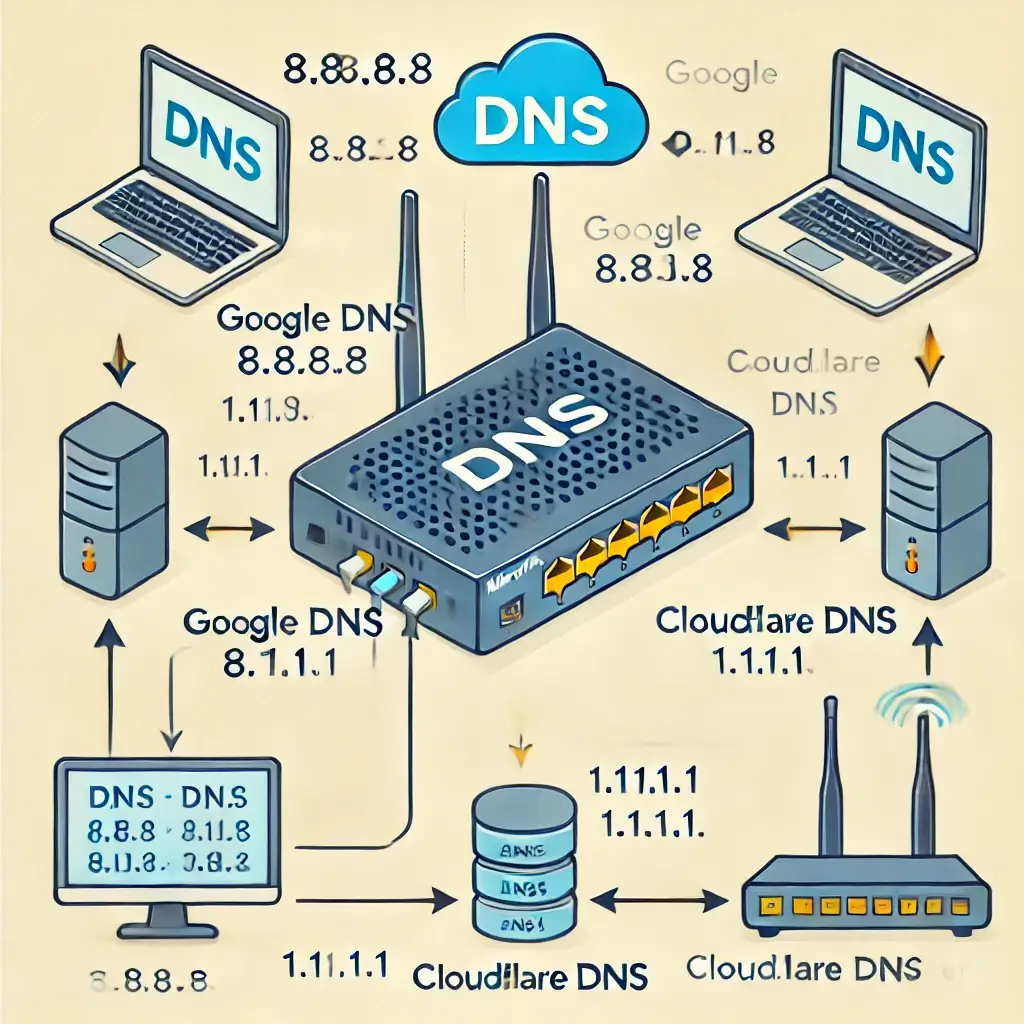
MikroTik DNS Setup: A Simple and Quick Guide to Configuring DNS Server
Setting up DNS on a MikroTik router can greatly improve network performance by reducing the time it takes to resolve domain names into IP addresses. In this guide, we will walk through the process of configuring a DNS server on MikroTik, step by step.
What is DNS?

DNS (Domain Name System) is a system that translates domain names (like example.com) into IP addresses (like 192.168.0.1) so that computers can communicate with each other on a network.
Why Set Up DNS on MikroTik?
Setting up a DNS server on MikroTik helps you:
- Speed up domain name resolution by caching frequently used DNS records.
- Control and manage DNS requests from devices within your network.
- Reduce bandwidth usage, since cached records don’t need to be fetched again from external DNS servers.
Step-by-Step Guide to MikroTik DNS Setup
1. Log In to Your MikroTik Router
First, open the MikroTik Winbox application or connect via SSH to your MikroTik router.
ssh [email protected]
Enter your username and password to access the router's command line interface (CLI).
2. Enable the DNS Feature
To start using DNS on your MikroTik router, you need to enable the DNS server feature.
In Winbox, go to:
- IP > DNS.
- Check the box next to Allow Remote Requests. Alternatively, if you are using the CLI, use the following command:
/ip dns set allow-remote-requests=yes
3. Set DNS Servers
You can use public DNS servers like Google DNS (8.8.8.8) or Cloudflare DNS (1.1.1.1). These servers will be queried when resolving domain names.
In Winbox, go to:
- IP > DNS.
- Under the Servers section, enter the DNS server addresses (e.g., 8.8.8.8, 1.1.1.1).
From the CLI, use this command:
/ip dns set servers=8.8.8.8,1.1.1.1
4. Configure DNS Caching
To improve performance, MikroTik DNS can cache frequently queried domain names. To configure DNS caching:
- IP > DNS.
- Set the Cache Size and Cache Max TTL (Time to Live) according to your needs. For CLI configuration:
/ip dns set cache-size=2048KiB
/ip dns set cache-max-ttl=1w
This sets the cache size to 2048KB and allows DNS records to be cached for up to 1 week.
5. Verify DNS Settings
After completing the setup, it’s important to verify the DNS configuration.
To check the status of the DNS server, use this command:
/ip dns print
You should see the list of DNS servers and other DNS-related settings.
6. Test the DNS Server
Finally, test whether the DNS is working correctly. You can use the ping command to resolve a domain name:
ping google.com
If the domain name resolves to an IP address, your DNS configuration is working.
7. (Optional) Block Specific Domains
You can block certain domains on your MikroTik DNS server for better security and control. To do this, you can add static DNS entries.
In Winbox:
- IP > DNS > Static.
- Add a static DNS entry for the domain you want to block (e.g., example.com), and point it to an invalid IP address (e.g., 0.0.0.0).
In CLI:
/ip dns static add name=example.com address=0.0.0.0
This will prevent devices on your network from accessing example.com.
Conclusion
Configuring a DNS server on MikroTik is a straightforward process that can significantly improve network performance by speeding up domain resolution and allowing for better control over DNS traffic. With this quick guide, you can easily set up DNS on your MikroTik router and start benefiting from faster, more reliable network operations.
Note: Remember to regularly update your DNS cache settings and DNS server addresses to ensure optimal performance and security.
If you encounter any issues during setup, refer to the MikroTik documentation or seek help from the MikroTik community.
